How to Build a Smokeless Fire Pit?
On this page (7 sections)
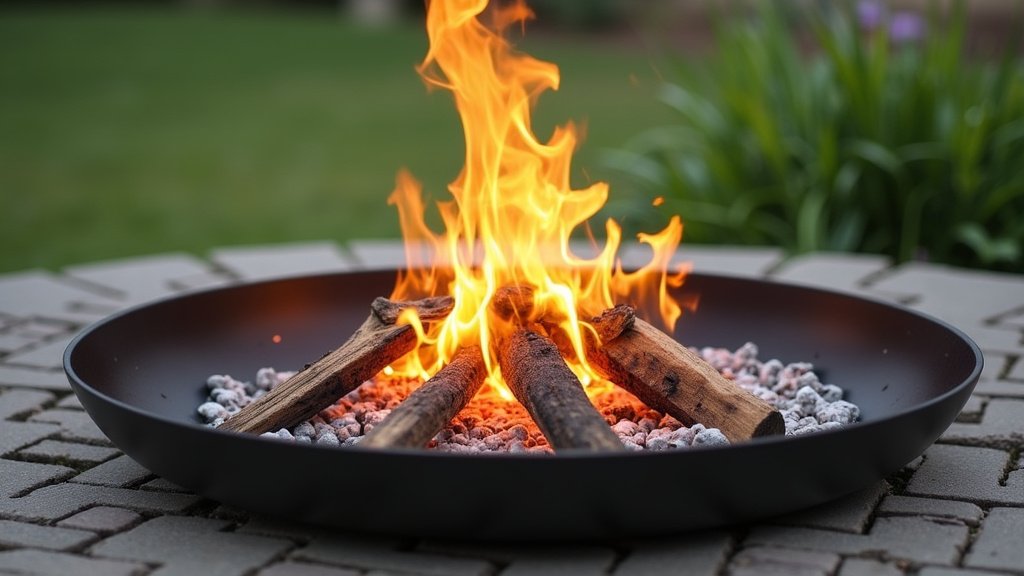
Yes, you absolutely can build your own smokeless fire pit with a bit of planning and some basic materials. If you prefer a ready-made option, compare smokeless fire pits. The core idea behind a smokeless fire pit is a double-wall construction that reheats and burns off smoke particles before they escape. This makes for a much more enjoyable and less smoky outdoor experience.
This type of fire pit uses a clever airflow system. Learn more about how a smokeless fire pit works. Hot air is drawn up between the inner and outer walls. It then exits through holes at the top, mixing with the smoke and creating a secondary burn. This secondary combustion dramatically reduces the amount of smoke you’ll notice. Many people find this makes backyard fires much more pleasant.
- A smokeless fire pit uses a double-wall design.
- This design creates a secondary burn for less smoke.
- You can build one yourself with common materials.
- It offers a cleaner and more enjoyable fire experience.
Let’s walk through exactly how to construct your very own smokeless fire pit step by step, so you can enjoy those crackling flames without the annoying smoke.
Crafting Your Own Smokeless Fire Pit
Building a smokeless fire pit yourself is totally achievable. You’ll need a few common supplies. This project is a fantastic way to enjoy outdoor fires. It’s also a rewarding DIY accomplishment. You’ll be amazed at how much less smoke you get with this design. This makes backyard gatherings much more pleasant for everyone. If you’re looking for options beyond DIY, our guide to the best fire pit for backyards can help.
Understanding the Double-Wall Design
The secret to a smokeless fire pit is its double-wall construction. This isn’t magic; it’s smart engineering. Think of it like a thermos. It has an inner wall and an outer wall, with space in between. This space is key to its function. It’s where the magic of reduced smoke happens.
How the Airflow Works
Cold air enters the bottom of the fire pit. It then travels up the space between the two walls. This air gets heated by the fire. As it heats up, it rises. Near the top of the inner wall, you’ll find strategically placed holes. The heated air exits these holes. This hot air then mixes with the smoke produced by the fire.
Secondary Combustion Explained
When the hot air from the double wall meets the smoke, it causes a secondary combustion. This means the smoke itself catches fire and burns. This burning off of smoke particles dramatically reduces the visible smoke. It’s like giving the smoke a second chance to burn completely. Many users report seeing very little smoke after the initial fire is going well.
Gathering Your Materials and Tools
Before you start building, make sure you have everything ready. This will make the construction process smooth and efficient. You don’t want to be halfway through and realize you’re missing a key piece. Having all your supplies on hand is smart planning.
Essential Fire Pit Components
For this project, you’ll need two metal containers of different sizes. One will be your inner fire pit, and the other will be the outer shell. The inner container should fit inside the outer one. There should be a gap of about 1-2 inches between them. This gap is where the air will flow.
- Inner Container: A sturdy metal bucket or planter. It should be fire-safe.
- Outer Container: A larger metal planter or a custom-cut metal drum.
- Bottom Support: Something to keep the inner container elevated inside the outer one. This allows air to flow underneath.
- Hardware: High-heat spray paint (optional, for aesthetics), screws, and potentially some metal grating.
Tools You’ll Need
You won’t need a full workshop for this. Basic tools will do the job. Safety first, always! Make sure you have work gloves and eye protection.
- Drill: For making holes.
- Metal File: To smooth any sharp edges.
- Measuring Tape: For accurate placement.
- Wrench or Screwdriver: To tighten any hardware.
- Safety Gear: Work gloves and safety glasses are a must.
Step-by-Step Construction Guide
Let’s get building! We’ll go through each step carefully. Remember to work in a well-ventilated area. Safety is the number one priority here. Sharp edges can be a hazard.
Preparing the Outer Container
Your outer container will form the main body of the pit. It needs to be sturdy. If you’re using a drum, ensure it’s clean and free of any coatings that could be harmful when heated.
Start by marking where your air holes will go near the top rim. These holes allow the heated air to escape. You want them spaced evenly around the circumference. Aim for about 10-15 holes, depending on the size of your pit. Drill these holes carefully. Then, use your metal file to smooth down any sharp edges. This makes the pit safer to handle and use.
Preparing the Inner Container
The inner container is where the fire will actually burn. It also needs holes, but for a different reason. These holes will be at the bottom. They allow air to be drawn into the space between the walls.
Drill a series of holes around the very bottom edge of the inner container. These should be smaller than the top holes. They are for air intake. You also need to create the main air channels. Drill larger holes around the inner wall, about 1-2 inches from the bottom. These are crucial for drawing air up between the walls.
Many builders find that using a metal grate or a few bolts as legs can help lift the inner container. This ensures good airflow from the bottom. You want a gap of at least an inch between the inner and outer container bottoms.
Assembling the Double Walls
Now comes the exciting part: putting it all together. Carefully place the prepared inner container inside the outer container. Make sure it’s centered. You want that consistent 1-2 inch gap all around. This gap is your secondary combustion chamber.
If your inner container sits too low, you can add small risers. These could be nuts, bolts, or a small piece of metal grating. These risers ensure the inner pot is elevated. Good airflow underneath is essential for the smokeless effect. Double-check that the inner pot is stable and won’t shift.
Adding Finishing Touches (Optional)
Once assembled, you can add some personal touches. If you want a sleek look, you can paint the outside of the outer container. Use a high-heat spray paint designed for metal and high temperatures. This will prevent the paint from peeling or flaking when the pit gets hot. Allow the paint to cure completely before using the fire pit.
Some people also add a ring of small holes around the very top edge of the inner wall. These act as diffusers, helping to spread the hot air and secondary combustion effect. Researching specific designs can give you ideas here.
Safety Considerations and Best Practices
Building your own fire pit is rewarding. But safety should always be your top priority. A fire pit, no matter how advanced, involves fire. Responsible use is key to enjoying it without any problems.
Choosing a Safe Location
Before you light your first fire, think about where you’ll place your pit. Select a level spot. It should be away from any structures, trees, or overhanging branches. Most guidelines recommend at least 10-25 feet of clearance. You don’t want your beautiful new fire pit to be a fire hazard.
Ensure the ground beneath the pit is non-combustible. Gravel, sand, or a paved patio are good options. Avoid placing it directly on grass or a wooden deck without proper heat protection. A metal heat shield or a layer of pavers can protect the surface below.
First Fire and Testing
When you’re ready for your first fire, start small. Use dry, seasoned firewood. For help choosing the right logs, see our guide to firewood for smokeless fire pits. This type of wood burns more efficiently and produces less smoke from the start. Light the fire in the center of the inner pit.
Observe the airflow. You should notice smoke rising and then, after a minute or two, the smoke should begin to decrease significantly. If you still see a lot of smoke, check your airflow holes. Ensure they aren’t blocked. The air between the walls needs to circulate freely. You might need to adjust your setup slightly.
Fire Pit Care and Maintenance
To keep your smokeless fire pit in great condition, some basic maintenance is needed. After each use, let the pit cool completely. Remove any ash and debris. Ash buildup can sometimes block airflow. A simple brush or shop vac can help with this.
Inspect the metal for any signs of rust or damage. If you notice rust, you can clean it and touch it up with high-heat paint. Store your fire pit in a dry place when not in use, especially during harsh weather. Covering it can also help protect it from the elements.
Checklist for Your DIY Smokeless Fire Pit Project
Here’s a quick rundown to make sure you’re ready:
- Gathered both inner and outer metal containers.
- Drilled air intake holes in the inner container.
- Drilled secondary combustion holes in the outer container.
- Ensured adequate spacing between the walls.
- Chosen a safe, level location for use.
- Have safety gear (gloves, glasses) ready.
Conclusion
You’ve learned how to build your own smokeless fire pit. This DIY project uses a clever double-wall design. It creates a secondary burn for much less smoke. Remember to gather your materials carefully. Follow the steps for preparing your containers and assembling them.
Safety is key, so always choose a good location. Test your pit with a small fire. With a little effort, you’ll soon be enjoying cleaner, smoke-free fires. Your next backyard gathering will be more enjoyable than ever.
Frequently Asked Questions
What kind of metal is best for building a DIY smokeless fire pit?
For durability and heat resistance, stainless steel or thick gauge carbon steel are excellent choices. These materials can withstand high temperatures without warping or degrading quickly. Avoid galvanized metal, as the coating can release toxic fumes when heated.
Can I use a regular metal trash can to build my fire pit?
You might be able to use a sturdy metal trash can as the outer shell, provided it’s clean and free of coatings. However, the inner container should be made of a thicker, more durable metal that can handle direct flames. Ensure both containers are appropriately sized to create the necessary air gap.
How important is the gap between the inner and outer walls?
The gap is absolutely essential for the smokeless effect. This space is where the air is preheated before it rises and fuels the secondary combustion. A gap of 1-2 inches is generally recommended to ensure proper airflow and efficient smoke burning.
Will my DIY fire pit be completely smokeless?
While the design significantly reduces smoke, it won’t be entirely smokeless, especially when you first light the fire. Once the fire is well-established and the pit reaches optimal temperature, you should notice a dramatic decrease in visible smoke. Dry, seasoned wood also plays a big role.
How often do I need to clean my DIY smokeless fire pit?
After each use, once it’s cooled completely, you should remove ash and debris. Ash can block the essential airflow holes. Periodically check the metal for rust or damage, and clean it as needed to maintain its performance and appearance.