How to Break in a New Wood Stove?
On this page (8 sections)
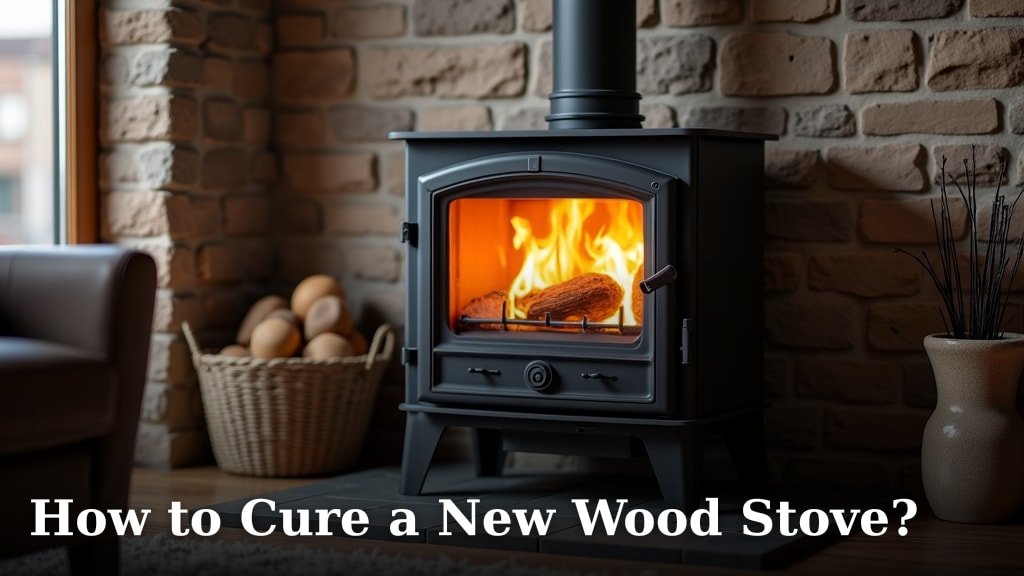
Breaking in a new wood stove is essential for its long-term performance and safety. You need to follow a specific process to cure the paint and metal, preventing damage and ensuring a good seal. This involves several small, controlled fires over a few days. Skipping this critical step can lead to smoke leaks and a stove that doesn’t heat efficiently.
Why is this break-in period so important? New stoves have protective coatings and moisture from manufacturing. Burning these off slowly, with gentle heat, allows the metal to expand gradually and the coatings to cure properly during the new stove break-in process. Many experts say this process is key to enjoying your stove for years to come. Think of it like breaking in a new pair of boots – a little work upfront makes them much better later.
- Burn small fires gradually.
- Cure the paint and metal.
- Prevent smoke leaks.
- Ensure efficient heating.
- Protect your investment.
Ready to get your new stove burning safely and effectively? Let’s walk through exactly how to break in your new wood stove step by step.
Getting Your New Wood Stove Ready for Winter
So, you’ve got a brand-new wood stove! That’s fantastic. It’s going to be a cozy and efficient way to heat your home. But before you load it up with big logs and expect roaring fires, there’s a little something we need to do first. This is called the “break-in period.” Think of it like breaking in a new pair of shoes; a little care upfront makes them fit better and last longer. We’re going to walk through this process together, step by step, to ensure your stove performs beautifully for years to come.
This break-in period is super important. It’s not just a suggestion; it’s a vital part of stove care. We found that most manufacturers strongly recommend this process. Why? Because new stoves have protective coatings and sometimes residual moisture from the manufacturing process. Burning these off slowly with controlled heat allows the metal to expand gradually. This prevents warping and ensures the paint cures properly. Without this, you might experience smoke leaks or even damage to your stove down the line.
Why This Initial Burn Is So Important
You might be wondering why all the fuss. It really comes down to two main things: paint curing and metal expansion. These are the core reasons behind the break-in burn.
Curing the Stove’s Paint and Metal Components
When your stove is manufactured, it’s coated with special paints and sealants. These give it that sleek, attractive look. However, these coatings are not fully hardened. They need heat to cure properly. If you start with a roaring fire right away, the paint can bubble, discolor, or even flake off. This happens because the heat is too intense, too fast. A slow, controlled burn allows the paint to harden gradually, creating a durable finish that will look great for a long time.
Beyond the paint, the metal parts of your stove need to adjust too. Metal expands when it heats up. A large, sudden fire causes rapid expansion. This sudden stress can potentially warp or damage the metal. By using smaller fires, you let the metal expand slowly and evenly. This process helps the stove settle into its “working” shape without strain. Many experts say this gentle approach is key to preventing future issues like cracked welds or warped doors (Wood Heating Alliance).
Preventing Future Smoke Leaks and Seal Issues
A proper break-in burn also helps ensure all the seals and gaskets are seated correctly. When you heat and cool the stove repeatedly over a few days, the metal components shift slightly. This helps the gaskets form a tighter seal around the door and glass. A good seal is absolutely critical for efficient burning and for preventing smoke from leaking into your home. You definitely don’t want smoke getting into your living space!
We’ve heard stories from people who skipped this step. They often ended up with drafty doors or smoke curling out when they opened the stove. It’s much easier to do a few small fires now than to deal with smoke and draft problems later. This is about creating a safe and effective heating system from the start.
Preparing Your New Wood Stove for the First Fires
Before you even think about lighting a match, there are a few things you should do. These preparation steps are simple but make a big difference. Let’s get everything ready.
Read Your Stove’s Manual
This might sound obvious, but your stove’s manual is your best friend. Every stove is a little different. It will have specific instructions for the break-in period. Some might suggest a slightly different schedule or mention unique features of your model. Always, always consult your owner’s manual first. It’s written by the people who designed and built your stove, so it’s the most accurate guide you can get.
Ensure Proper Installation and Ventilation
Double-check that your stove was installed correctly. This includes the chimney or flue pipe. It needs to be the right size and height for your stove and home. Proper ventilation is absolutely non-negotiable for safety. If you’re unsure, have your installer or a qualified professional double-check everything. A well-ventilated stove is a safe stove.
Clear the Area Around the Stove
Just like any fire, you need to keep flammable materials away from your new stove. This includes furniture, curtains, rugs, and firewood. Your stove’s manual will specify the required clearances. Always follow these recommendations. It’s better to be overly cautious when dealing with fire.
The Step-by-Step Break-In Fire Schedule
Now for the main event! This schedule involves several small fires over a few days. The goal is to gradually increase the heat. Don’t rush this; patience is key here.
Day 1: The First Gentle Fire
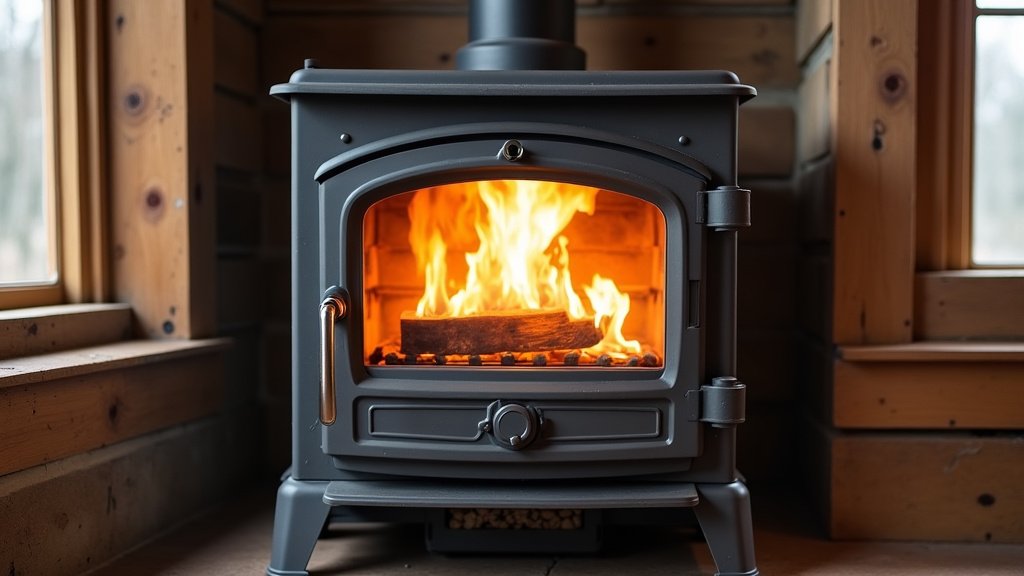
For your first fire, use only a small amount of kindling and a couple of small pieces of seasoned hardwood. You’re not trying to heat the room; you’re just warming the stove up. Build a small fire, about one-quarter the size of a normal fire. Let it burn for about 30-60 minutes. You want to see a low, steady flame.
During this burn, keep an eye on the stove. You might notice some initial smoke or a slight odor as the coatings burn off. Learn more about new stove chemical smells during this process. This is normal. You might also hear some popping or ticking sounds as the metal heats up and expands. This is also perfectly normal. Make sure the air vents are open to allow for good airflow, which helps clear out any smoke or fumes.
Day 2: Slightly Larger Fires
On the second day, you’ll build slightly larger fires. Use a bit more kindling and a few more small pieces of seasoned hardwood. Aim for fires that are about half the size of what you’d consider a normal, full fire. Let these fires burn for about 60-90 minutes each. You might do two or three of these fires throughout the day.
As the stove gets a bit warmer, the paint curing process will continue. You might notice the smell become less pronounced. Continue to monitor the stove for any unusual sounds or signs of smoke leaks. Ensure you’re using well-seasoned hardwood. This type of wood burns cleaner and hotter, which is ideal for curing.
Day 3 (and possibly Day 4): More Substantial Fires
By day three, you can gradually increase the size of your fires again. Use about two-thirds the amount of wood you’d use for a normal fire. Let these fires burn for at least 90 minutes to two hours. Again, two or three fires throughout the day are a good idea.
The goal now is to get the stove good and warm, but still not at maximum capacity. You should notice that the smell from the curing paint has significantly diminished or disappeared. The metal should feel warm to the touch (but not so hot you can’t briefly touch it). This extended heat helps to fully cure the paint and finalize the metal’s expansion process. Some manufacturers suggest a fourth day if conditions are cooler or you want to be extra sure.
What Kind of Wood to Use During Break-In?
It’s best to use seasoned hardwood for your break-in fires. Hardwoods like oak, maple, or hickory are great choices. They burn longer and produce a more consistent heat. Make sure your wood is well-seasoned, meaning it has a low moisture content (ideally 15-20%). Wet or unseasoned wood produces more smoke and creosote, which you want to avoid during this sensitive period. Using the right fuel makes the curing process much more effective.
Important Safety Tips During the Break-In Period
Safety is always the top priority when dealing with a new wood stove. The break-in period is no different. Keep these tips in mind.
Never Leave Fires Unattended
During the break-in period, and really, always, never leave a burning fire unattended. This is especially true when the stove is new and you’re still getting used to its behavior. Keep a close eye on it, particularly during these initial burns.
Ensure Proper Airflow
Always make sure the air vents on your stove are open enough to allow for sufficient airflow. Good airflow is essential for a clean burn and for venting smoke and fumes out through the chimney. Your manual will guide you on proper vent settings for different stages of the fire.
Watch for Smoke Leaks
Be vigilant about checking for any smoke that escapes the stove. Look around the door, the glass, and any seams. If you see smoke, it could indicate a problem with the seals or a need for more break-in time. Sometimes, a quick check of the door latch or gasket can resolve minor issues.
Ventilate Your Home
As the paint and coatings cure, they will release fumes. It’s a good idea to keep a window slightly open in the room where the stove is located during these initial burns. This ensures good air exchange and helps to vent any odors or fumes outside. Once the break-in is complete and you’re using the stove normally, you’ll still want to ensure adequate ventilation for safe operation.
Checklist: Your Break-In Burn Readiness
To make sure you haven’t missed anything, here’s a quick checklist:
- Manual Read: Have you thoroughly read your stove’s owner’s manual?
- Installation Verified: Is your stove and chimney installation confirmed as correct and safe?
- Clearance Checked: Are all flammable materials at least the recommended distance away?
- Fuel Ready: Do you have plenty of seasoned hardwood available?
- Schedule Set: Do you have a few days blocked out to perform the gradual fires?
- Safety Gear: Is your smoke detector working, and do you have a fire extinguisher nearby?
Following these steps will help you get your new wood stove performing at its best. It’s a small investment of time that pays off in efficiency, safety, and the longevity of your beautiful new appliance. Enjoy your warm and cozy home!
Conclusion
You’ve successfully navigated the essential break-in process for your new wood stove! By performing these small, controlled fires over a few days, you’ve ensured the paint is properly cured and the metal has expanded gradually. This careful approach is your best defense against future smoke leaks and ensures your stove will heat your home efficiently and safely for years to come. Your investment in this simple preparation means a more reliable and enjoyable heating experience. Now that your stove is ready, you can look forward to cozy warmth all season long!
Frequently Asked Questions
Can I skip the break-in period if I’m in a hurry to get warm?
We strongly advise against skipping the break-in period, even if you’re eager for heat. Rushing the process can lead to paint damage and potential issues with metal expansion, which may compromise your stove’s performance and safety in the long run. A few days of preparation are well worth it.
How long does the entire break-in process typically take?
Most manufacturers recommend a break-in period spanning three to four days. Each day involves building several small, controlled fires for a specific duration. The key is consistency and gradually increasing the heat, rather than a single long burn.
What should I do if I smell a strong odor or see smoke during the break-in?
A slight odor and minimal smoke during the initial fires are normal as the stove’s protective coatings burn off. However, if you notice significant smoke or persistent fumes, ensure your vents are fully open and that you’re using well-seasoned wood. If the problem continues, consult your owner’s manual or the manufacturer.
Is it okay to use any kind of wood for the break-in fires?
It’s best to use well-seasoned hardwood for your break-in fires. Avoid using softwoods like pine or fir, as they burn too quickly and can produce excessive smoke and creosote. Ensure your hardwood has been dried for at least six months for optimal results.
How do I know when the break-in period is truly complete?
You’ll know the break-in is complete when the initial paint odor has completely disappeared, and you no longer see any smoke escaping the stove during your controlled burns. Your stove will also feel warmer, indicating the metal has acclimated to heat.