Can You Vent a Pellet Stove Through a Wall?
On this page (7 sections)
Yes, you can vent a pellet stove through a wall, but it requires a properly installed venting system. Review the stove pipe through-wall method before choosing a route. This is usually done with a direct-vent or through-the-wall kit. It’s essential to follow manufacturer guidelines and local building codes closely to ensure safety and efficiency.
Venting a pellet stove through a wall offers flexibility when a direct chimney isn’t available. We found that many homeowners opt for this method for convenience. However, selecting the correct type of vent pipe and ensuring a tight seal are critical for preventing heat loss and dangerous exhaust gas leaks.
- Yes, venting through a wall is possible.
- Use a direct-vent or through-the-wall kit.
- Follow manufacturer and code instructions.
- Ensure a tight seal for safety.
- Choose the right type of vent pipe.
Let’s walk through what you need to know to make sure this is done right for your home.
Venting Your Pellet Stove Through an Exterior Wall
So, can you vent a pellet stove through an exterior wall? Wood stove flue routing through a wall has its own installation considerations. The short answer is a resounding yes! It’s a common and perfectly safe method when done correctly. This approach offers a fantastic solution when a traditional chimney isn’t an option or is too costly to install. You’re essentially creating a dedicated exhaust path directly outside your home.
We’ve found that many homeowners choose this option for its flexibility and convenience. It opens up placement possibilities for your pellet stove. Imagine having your cozy heater in a basement, a garage, or even a living room without needing to build a chimney from the ground up. But here’s the catch: it absolutely needs to be done the right way to ensure safety and efficiency.
Understanding Pellet Stove Venting Requirements
Pellet stoves, like any combustion appliance, produce exhaust gases. These gases contain carbon monoxide, which is dangerous. Proper venting is your primary defense against these harmful fumes entering your home. It ensures these byproducts are safely expelled outdoors.
The venting system acts like the stove’s lungs. It needs to breathe in enough air for efficient burning and exhale the waste gases without issue. The pressure created by the stove’s fan needs to push this exhaust through the vent pipe and out. This is why the diameter and length of your vent pipe are so important.
Types of Venting Systems for Pellet Stoves
When venting through a wall, you’re typically looking at two main types of systems. These are designed specifically for modern, efficient appliances like pellet stoves.
Direct-Vent Systems
Direct-vent systems are a popular choice for good reason. They are self-contained. This means they draw combustion air from the outside and expel exhaust gases directly outside through a single, double-walled pipe. This pipe usually runs horizontally through the wall. It’s often called a “through-the-wall” kit.
The beauty of direct-vent systems is that they don’t rely on indoor air for combustion. This prevents drafts and maintains your home’s indoor air quality. It’s like having a dedicated, sealed pathway for the stove’s “breathing.” Many manufacturers design their stoves specifically for these systems.
Single-Wall or Type L Venting
In some specific situations, you might use single-wall or Type L vent pipes. These are often used to go from the stove to the wall penetration, and then a specialized direct-vent wall thimble or termination kit takes over for the exterior portion. Type L vents are double-walled but are generally used for lower-temperature appliances than the specialized Class A vents used for direct venting.
However, it’s critical to consult your stove’s manual. Many pellet stoves today require specific Class A, insulated, double-wall vent pipe systems, especially if the vent runs vertically through an attic or roof space. Venting directly through a wall often simplifies things by avoiding attic complexities.
Choosing the Right Vent Pipe Material
The material of your vent pipe matters. It needs to withstand the heat and corrosive byproducts of burning wood pellets. Using the wrong material can be a fire hazard or lead to premature failure of the system.
Class A Insulated Vent Pipe
For many pellet stove installations, especially those involving longer runs or passing through combustible materials, Class A insulated vent pipe is the gold standard. This is a heavy-duty twin-wall flue pipe with insulation in between. It’s designed to maintain higher flue gas temperatures and provides a safe clearance from combustible materials.
While often associated with vertical runs, sections of Class A pipe might be used in horizontal wall penetrations if the manufacturer’s instructions permit. It’s the most robust and safest option when available and required.
Specialized Pellet Vent Pipe
Many manufacturers offer their own proprietary pellet vent systems. These are engineered to work specifically with their stoves. They are typically double-walled and insulated, designed for direct-vent applications through walls or roofs. These systems are often the easiest to install and ensure.
We found that using the manufacturer-recommended venting is usually the simplest path. It guarantees compatibility and often simplifies the installation process. Plus, it helps maintain your stove’s warranty.
Key Considerations for Through-the-Wall Venting
Now, let’s talk about the nitty-gritty. Venting through a wall isn’t just about poking a pipe through. There are specific rules and best practices to follow.
Manufacturer’s Installation Manual is Your Best Friend
Seriously, this document is gold. Your pellet stove manufacturer has specific requirements for venting. These aren’t suggestions; they are safety guidelines. They will tell you the exact type of vent pipe to use, the maximum length allowed, and the minimum clearances from combustible materials.
We learned that ignoring these instructions can lead to poor performance, safety issues, and voided warranties. Always start here. If you don’t have it, download it from the manufacturer’s website. It’s that important.
Local Building Codes and Fire Department Regulations
Beyond the manual, your local government has codes designed to keep you safe. These codes often dictate vent termination locations, clearances, and required materials. It’s wise to check with your local building department before you begin. They can provide guidance and clarify any specific requirements for your area.
Some municipalities have strict rules about how far a vent must terminate from windows, doors, or property lines. You might also need a permit for the installation. Getting this checked upfront saves a lot of headaches later. Your local fire department is also a great resource for this information.
Proper Clearance to Combustibles
This is a big one for fire safety. The vent pipe gets hot. You need to maintain a safe distance between the vent pipe and any wood, insulation, or other flammable materials in your wall. The required clearance is specified by the vent pipe manufacturer and is usually part of the stove’s manual as well. Always ensure you maintain the required clearance from combustible materials as specified by the vent pipe manufacturer.
For example, a common clearance for insulated, double-wall vent pipe might be 1 inch. Single-wall vent pipe requires much more, often 6 inches or more. When going through a wall, you’ll use a wall thimble. This is a special collar that provides the necessary air space and fire protection.
Termination Location – Safety First!
Where the vent exits your house matters. Gas fireplace vents have separate rules for window placement and clearances. You can’t just have it dump exhaust anywhere. There are regulations for vent termination to prevent re-entry of exhaust gases into your home or a neighbor’s home.
Common guidelines, often based on NFPA 211 (National Fire Protection Association), require termination:
- At least 12 inches above the roof line if terminating vertically.
- At least 10 feet from any adjacent structure (like a deck or shed).
- At least 10 feet horizontally from any window, door, or fresh air intake.
- At least 8 feet above the ground if terminating at ground level.
Ensuring a Watertight and Airtight Seal
When the vent pipe passes through the exterior wall, you need to seal that penetration. This prevents water from getting into your wall cavity and also stops drafts from coming into your home. For exterior walls, this means using a proper wall thimble designed for the vent pipe diameter and exterior sealant.
The thimble itself will have specific installation instructions. It needs to be secured firmly. The exterior flashing around the thimble must be installed correctly to shed water away from the house. A good seal is vital for both energy efficiency and preventing moisture damage.
Steps for Venting Through a Wall
Ready to visualize the process? Here’s a general outline of how through-the-wall venting works. Remember, this is a simplified guide, and you should always follow your specific product’s instructions.
- Choose your location: Select where the stove will go and where the vent will exit. Consider proximity to windows, doors, and air intakes.
- Determine vent path: Map out the shortest, most direct path for the vent pipe from the stove to the exterior wall.
- Drill the hole: Carefully drill a pilot hole from inside to outside to mark the center. Then, using a larger hole saw or reciprocating saw, create the opening for the wall thimble.
- Install the wall thimble: Insert the thimble into the wall opening. Secure it according to the thimble manufacturer’s instructions. Ensure it’s plumb and level.
- Connect vent pipe sections: Assemble the necessary vent pipe sections from the stove to the wall thimble. Ensure all connections are securely fastened and sealed if required by the pipe system (e.g., using screws and sealant).
- Install exterior termination: Attach the correct vent termination cap to the outside end of the vent pipe, ensuring it meets clearance requirements and is properly flashed.
- Seal everything: Seal the exterior of the wall thimble and flashing to prevent water infiltration.
It might seem like a lot, but taking it step-by-step makes it manageable. The key is preparation and following the instructions precisely.
Common Mistakes to Avoid
We’ve seen and heard about many DIY installations. Clean pellet stove vent pipes regularly to help keep the exhaust path clear. Some common pitfalls can turn a cozy heating solution into a safety hazard. Let’s make sure you steer clear of them!
- Using the wrong vent pipe: This is perhaps the most dangerous mistake. Using standard single-wall stove pipe or dryer vent hose is a recipe for disaster.
- Not enough clearance: Always double-check and triple-check your clearances to combustibles. That wall isn’t just wood and drywall; there’s insulation and framing too!
- Improper termination: Venting too close to windows, doors, or air intakes can allow exhaust fumes to be drawn back into your home.
- Poor sealing: Leaving gaps where the pipe enters the wall can lead to water damage, mold, and drafts.
- Ignoring the manual: We can’t stress this enough. The manufacturer’s instructions are the most specific and critical guide you have.
A well-installed system is a safe and efficient system. Investing the time to do it right pays off in warmth and peace of mind.
Conclusion
Venting your pellet stove through an exterior wall is a completely viable and safe option when done with care. You’ve learned that using the right direct-vent system and manufacturer-approved pipe are non-negotiable. Always prioritize consulting your stove’s manual and checking your local building codes before you begin. A properly sealed and installed vent system not only ensures your safety from harmful exhaust but also maintains your home’s efficiency. Ready to get started? Your next step is to gather your specific product manuals and contact your local building department to confirm all requirements.
Frequently Asked Questions
Can I use a standard dryer vent hose for my pellet stove?
No, you absolutely should not use a standard dryer vent hose. These hoses are not designed to handle the heat or corrosive byproducts of pellet stove exhaust. Using one is a major fire hazard and will likely fail quickly.
How close can the vent pipe terminate to a window or door?
Generally, pellet stove vents need to terminate at least 10 feet horizontally from any window or door. This prevents exhaust gases from re-entering your home. Always check your local codes and the stove manual for precise distances.
Do I need a permit to vent a pellet stove through a wall?
It’s highly likely that you will need a permit. Most municipalities require permits for appliance installations that involve altering exterior walls and venting systems. Contacting your local building department beforehand will clarify this requirement.
What is a wall thimble, and why is it important?
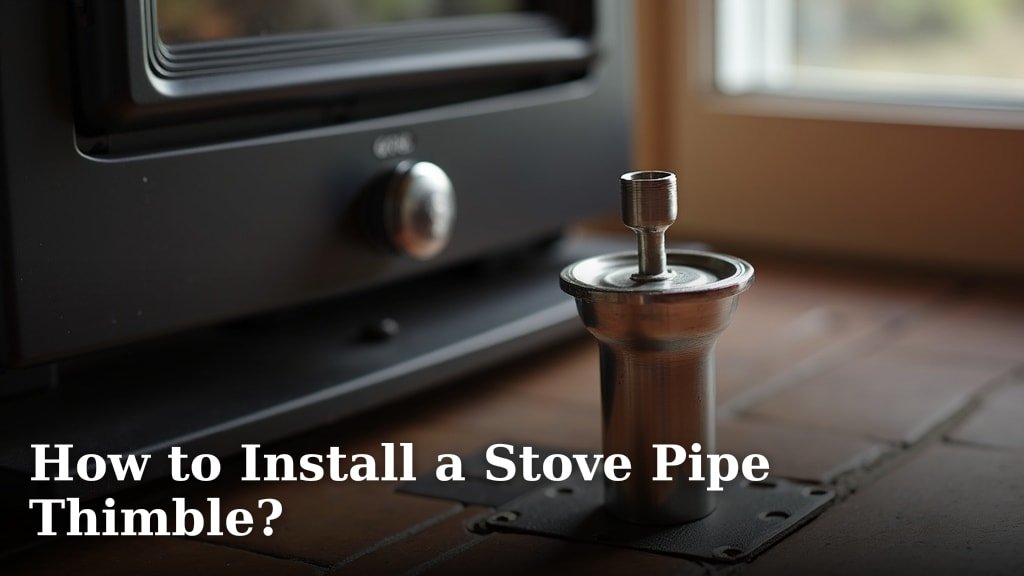
A wall thimble is a device that safely passes the vent pipe through a combustible wall. It maintains the required clearance between the hot vent pipe and the wall structure, preventing fires. It also provides a secure and sealed connection point.
Can I vent my pellet stove horizontally through a wall without any rise?
While some systems allow for a mostly horizontal run, most pellet stoves require some degree of upward slope towards the termination point for proper exhaust drafting. Always follow your stove manufacturer’s specific instructions regarding vent pipe pitch.