
How to Start a Fire in a Wood Stove?
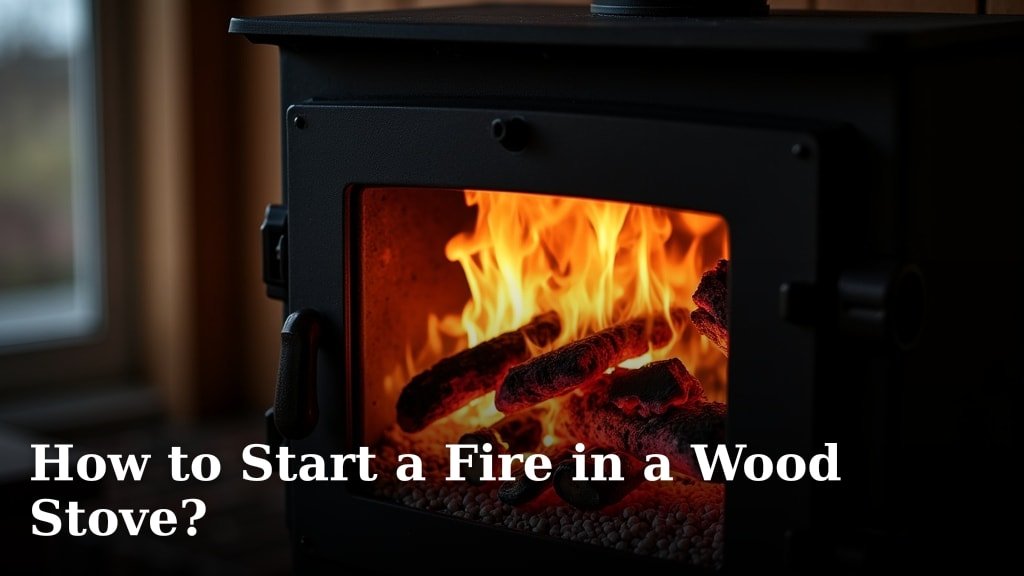
The easiest way to start a fire in a wood stove is by using the top-down method. This technique involves stacking your tinder, kindling, and larger logs in a specific way, with the smallest materials on top. Many experienced stove users find this method creates a longer-lasting, cleaner burn right from the start.
Getting your wood stove fire going the right way can feel a bit tricky at first, right? You want a steady, warm heat, not a smoky mess. We found that understanding the science behind combustion helps a lot. It’s all about providing the right amount of fuel, heat, and oxygen in the correct order.
- Stack wood from smallest to largest, top to bottom.
- Ensure good airflow during startup.
- Use appropriate kindling and tinder.
- Monitor your fire for a clean burn.
Let’s walk through exactly how to master the top-down method for your wood stove, step by step.
Setting Up Your Wood Stove for a Successful Fire
Before you even think about lighting a match, proper preparation is key. A well-prepared stove makes starting a fire much easier and safer. You want to create ideal conditions for combustion.
Gathering Your Essentials
Having all your materials ready beforehand saves time and frustration. Imagine trying to find kindling while your tiny flame struggles. We’ve all been there! Let’s get everything organized.
Choosing Your Fuel
What kind of wood works best? You’re looking for dry, seasoned hardwood. Think oak, maple, or ash. Green wood has too much moisture; it smokes more and burns less efficiently. Many experts say dry wood produces significantly more heat (University of Wisconsin–Madison Extension).
Understanding Tinder and Kindling
Tinder catches the spark. Crinkled newspaper, cotton balls, or dry leaves work well. Kindling helps grow that spark. Small, pencil-sized sticks or thin strips of wood are perfect. These fine materials ignite quickly.
Essential Tools You’ll Need
Keep these items nearby: matches or a lighter, fire-resistant gloves, and a metal shovel. A poker is also handy for adjusting logs once the fire is going. Safety first, always!
The Top-Down Fire Starting Method: Step-by-Step
This method builds a fire from the top down, mirroring how a candle burns. It’s surprisingly effective and reduces smoke significantly. You’ll create a clean, efficient burn from the very beginning.
Prepping Your Firebox
First, clear out old ash. A thin layer of ash (about an inch) is good for insulation, but too much restricts airflow. Use your shovel to remove excess ash into a metal container. Check that your damper is open. Without airflow, your fire won’t breathe.
Building the Stack
This is where the top-down magic happens. You’re reversing the traditional fire-building pyramid. Think of it like an upside-down cake. Each layer is smaller than the one below, allowing heat to radiate downwards efficiently.
Layer 1: The Foundation (Large Logs)
Start with two to three larger seasoned logs at the bottom of your firebox. Arrange them parallel, leaving a small gap between them for air. These logs will be the main fuel source once the fire gets going.
Layer 2: Mid-Sized Wood
Place several medium-sized pieces of wood on top of your large logs. You can lay them perpendicular to the bottom layer. Again, leave some space for air movement. These pieces will catch fire after the kindling and small logs.
Layer 3: Building with Kindling
Now, add a generous amount of kindling. This is where those pencil-sized sticks come in. Create a loose, crisscross pattern over the mid-sized wood. Good airflow is critical here. This layer will ignite quickly.
Layer 4: The Tinder Nest
Finally, place your tinder on top of the kindling. This can be a nest of crumpled newspaper, cotton balls, or a commercially available fire starter. Make sure it’s fluffy and easy to ignite. This is where your flame begins.
Lighting Your Fire and Optimizing the Burn
You’ve built your masterpiece! Now for the exciting part. Lighting it correctly and then adjusting the air supply ensures a strong, sustained flame. We want a roar, not a whimper.
Igniting Successfully
Using a match or lighter, ignite the tinder at several points. The goal is to get the tinder burning uniformly. You should see the kindling quickly catching fire. Close the door almost completely, leaving a tiny crack for an initial boost of air.
Controlling Airflow with Your Damper
Once the kindling is burning well and flames are reaching the smaller logs, slowly close off that initial crack in the door. Now, you’ll use your stove’s air intake vents (often called a damper or air control) to manage the fire. Initially, keep the damper fully open to encourage the fire to grow.
Recognizing a Clean Burn
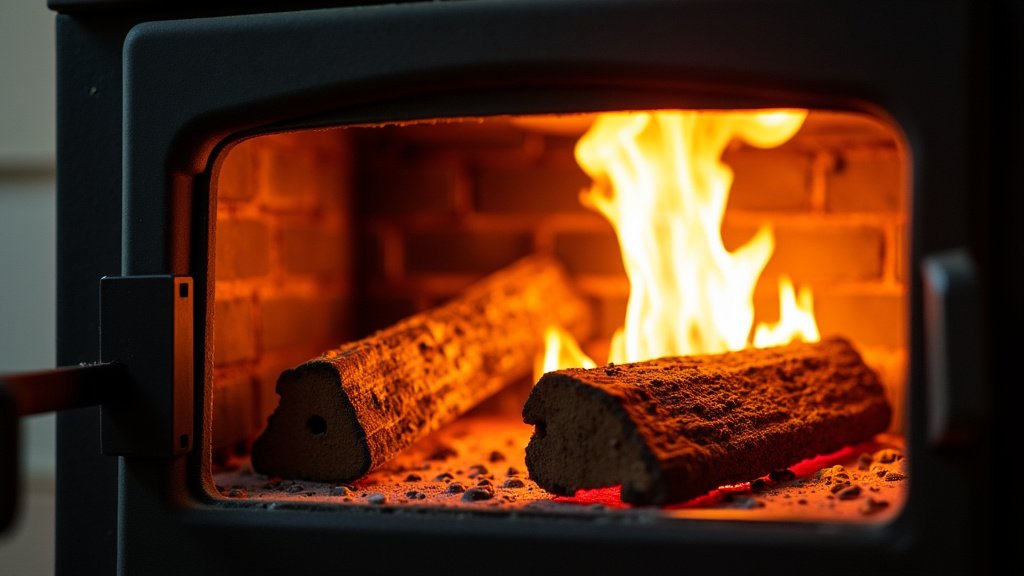
How do you know if you’re doing it right? A clean burn means minimal smoke from your chimney and bright, flickering flames inside the stove. If you see thick, black smoke, you likely need more air. Pale yellow flames with minimal movement also suggest more air is needed. An optimal fire will have dancing, orange-yellow flames.
| Burn Indication | Ideal Action | Reasoning |
|---|---|---|
| Thick Black Smoke | Increase Air (Open Damper More) | Incomplete combustion, wasting wood. |
| Bright, Lively Flames | Maintain Current Air Setting | Optimal combustion, efficient heat. |
| Dull, Slow Flames | Increase Air (Open Damper More) | Needs more oxygen to burn hotter. |
| Rapid “Roaring” Fire | Decrease Air (Close Damper Slightly) | Too much air, burning wood too fast. |
Maintaining Your Fire for Consistent Warmth
Starting the fire is half the battle. Keeping it going efficiently is the next challenge. You want a steady, even heat output, not a rollercoaster of temperatures. Let’s keep that fire happy.
Adding More Wood
When should you add more logs? Wait until the current load has broken down into a bed of glowing coals. Adding wood to an existing fire is easiest this way. Don’t smother the fire with too many fresh logs. One or two at a time is usually sufficient.
Adjusting Air for Longer Burns
Once your fire is well-established, you can begin to restrict the airflow slightly. Gradually close the damper to a setting that maintains a good flame without burning your wood too quickly. This extends the burn time and keeps your home warm longer. It’s a delicate balance; you’ll learn the sweet spot for your specific stove.
Troubleshooting Common Fire Starting Issues
Even with the best intentions, things can sometimes go awry. Don’t worry, these are common problems with straightforward fixes. We’ve encountered these, too!
Why Won’t My Fire Catch?
The most common culprit is insufficient airflow or wet wood. Double-check that your damper is open and your wood is genuinely dry. Also, ensure your tinder and kindling are not packed too tightly. They need air around them to ignite. Try adding more robust kindling.
Excessive Smoke Production
Too much smoke usually means your wood isn’t burning hot enough. This often indicates a lack of air. Open your damper more. It could also mean your wood isn’t seasoned properly. Remember, dry wood burns clean! Many sources, like the EPA, emphasize using dry wood to reduce emissions.
Flames Dying Out Too Quickly
If your fire is enthusiastic at first but quickly fades, you might be starving it of oxygen too soon. Keep the damper more open during the initial phase. Or, you might not have enough kindling to bridge the gap between your tinder and larger logs. The layers need to be carefully constructed to transfer heat effectively.
Fire Starting Checklist
Before you light that match, run through this quick mental (or physical) checklist. It helps ensure you haven’t missed any crucial steps. A simple check can save you a lot of hassle.
- Is your wood dry and seasoned?
- Have you cleared out excess ash?
- Are your tinder and kindling ready and accessible?
- Is your damper fully open for ignition?
- Are your logs stacked correctly using the top-down method?
- Do you have your safety tools (gloves, shovel) nearby?
Conclusion
You’ve seen how simple the top-down method can be for lighting your wood stove. By carefully building your layers and controlling the airflow, you create a robust, clean-burning fire from the start. Remember, dry wood and proper air management are your best friends for efficient heating. Practice makes perfect, and soon you’ll be enjoying consistent warmth with minimal fuss. Take these steps, and you’ll master cozy wood stove fires for years to come.
Frequently Asked Questions
How often should I clean out the ash from my wood stove?
You should aim to clear out most of the ash when it gets to about an inch thick in your firebox. A thin layer provides insulation, but too much ash restricts airflow, which makes it harder to start and maintain a good fire. Always use a metal container for ash disposal.
Can I use lighter fluid or gasoline to start a wood stove fire?
No, you should never use flammable liquids like lighter fluid, gasoline, or kerosene in your wood stove. These substances are extremely dangerous and can cause explosions or flash fires, leading to severe injury or damage to your home. Stick to natural tinder and kindling.
What if my wood stove smokes inside my house when I open the door to add wood?
This often happens if your flue isn’t hot enough to create an updraft, or if you open the door too quickly. Try cracking the door slightly for 10-15 seconds before fully opening it to allow the pressure to equalize. Ensuring your chimney is clean also helps prevent this issue.
Is it okay to burn softwoods like pine or spruce in my wood stove?
While you can burn softwoods, they generally burn faster and produce less heat than hardwoods. They also create more creosote, which can build up in your chimney and increase the risk of a chimney fire. For best results and safety, use dry, seasoned hardwood.
My fire keeps going out overnight. How can I make it last longer?
To extend your fire’s life overnight, ensure you have a good bed of coals before adding a larger, dense log or two right before bed. Then, significantly reduce the air supply by closing your damper, but not completely. You want just enough air to keep the log smoldering slowly.

