How to Cure a New Wood Stove?
On this page (6 sections)
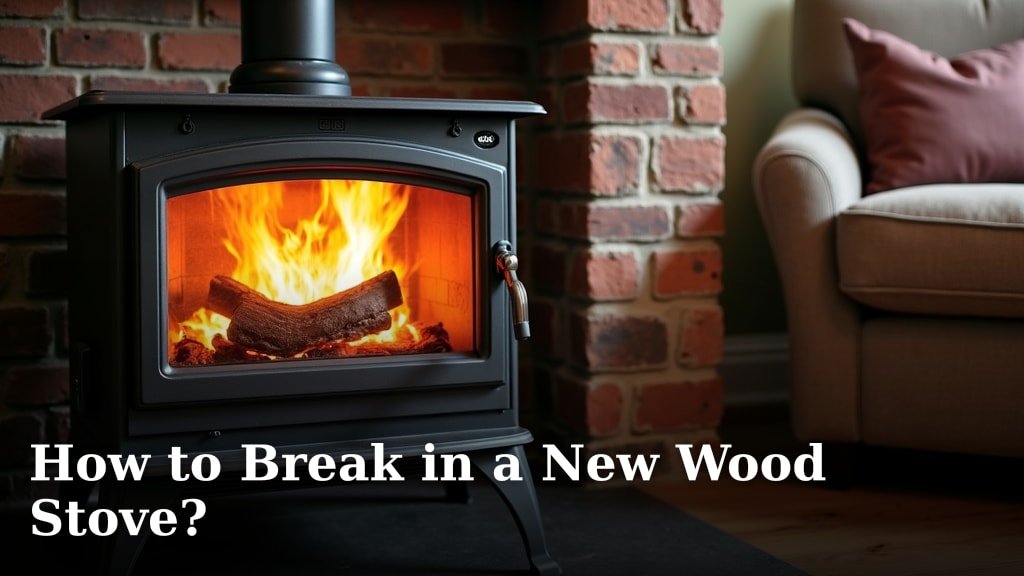
Curing a new wood stove is a necessary process to ensure it operates safely and efficiently for years to come. You can cure a new wood stove by building a series of small, controlled fires over several days to gradually burn off protective coatings and oils. This prevents smoke damage to your chimney and ensures your stove performs at its best.
This curing process, often called seasoning, is crucial because it removes manufacturing residues that can produce unpleasant odors and potentially harmful fumes during the stove’s first real use. Many manufacturers recommend this step. Failing to cure your stove properly could lead to a smoky room and a shorter lifespan for your appliance. You want to get this right to enjoy cozy fires without worry.
- Build small fires first.
- Gradually increase fire size.
- Maintain fires for longer periods.
- Ensure good ventilation during curing.
- Listen for any unusual sounds.
Ready to get started? Let’s walk through the simple steps to properly cure your new wood stove so you can start enjoying its warmth.
Seasoning Your New Wood Stove: A Step-by-Step Guide
You’ve got a brand new wood stove, and you’re eager to get it fired up! That’s fantastic. But before you load it up for a long, cozy evening, there’s a small but very important step you need to take. It’s called curing, or seasoning, your new stove. Think of it like breaking in a new pair of boots. You wouldn’t go for a long hike right away, would you? The same principle applies here. This process ensures your stove will perform safely and efficiently for years.
This curing process is essential for safety and performance. New stoves often have protective coatings, oils, or paints applied during manufacturing. These are there to prevent rust and damage during shipping and storage. When you first light a fire, these residues will burn off. If this happens too quickly or too intensely, it can release unpleasant odors and potentially harmful fumes into your home. It can also cause those coatings to cure unevenly, leading to discoloration or even chipping. We want to avoid all that!
Why Curing Your Stove Matters So Much
So, why go through this extra step? It really comes down to protecting your investment and your home. A new wood stove is a significant purchase. Proper curing ensures that the stove’s materials, including the paint and metal, heat up gradually. This prevents thermal shock, which could crack the cast iron or damage the stove’s finish. Many manufacturers strongly recommend this process because it helps the stove last longer and work better.
Imagine lighting a full-blown fire right away. Those manufacturing residues would vaporize rapidly. This can create a thick, acrid smoke that might even trigger your smoke detectors! Plus, it can lead to a lingering chemical smell in your home. Over time, this can make your chimney more prone to creosote buildup, which is a fire hazard. Curing helps burn off these residues gently, minimizing smoke and odor. It’s about getting a clean, efficient burn from day one. We found that following this guide can help you avoid common issues.
Preparing for the Curing Process
Before you light that first little flame, a bit of preparation is key. You’ll need to gather a few things. Most importantly, you’ll need dry, seasoned firewood. Small pieces are best for these initial fires. You’ll also want to have some kindling and maybe a few small starter logs. It’s also a good idea to open windows or ensure your home has some airflow. This helps vent any initial smoke or fumes.
Make sure your stove’s damper and air controls are accessible. You’ll be adjusting these throughout the curing process. Read your stove’s manual again, too. It will likely have specific instructions from the manufacturer regarding curing. While the general principles are the same, your stove might have unique recommendations. We found that referring to the manual is always a good practice.
Gathering Your Curing Supplies
Here’s a quick rundown of what you should have on hand:
- Dry, seasoned firewood: Small pieces work best for the initial fires.
- Kindling: To help get the fire started easily.
- Fire starters: Like newspaper or natural fire starters.
- Oven mitts or heat-resistant gloves: For handling any hot items.
- A watch or timer: To track fire duration.
- Your stove’s manual: For specific manufacturer instructions.
Ensuring Proper Ventilation
Ventilation is your best friend during this curing period. When those initial residues burn, they can produce fumes that you don’t want lingering in your home. Open a nearby window or door slightly. If you have an existing ventilation system for your fireplace or stove, ensure it’s operating correctly. You’re not trying to cool your house down, just provide a pathway for the initial smoke and odors to escape safely. Many experts recommend good airflow to help the process. We found that even a slight opening helps significantly.
The Curing Fire Schedule: A Gradual Approach
The core of curing your new wood stove involves building a series of small, controlled fires over several days. The goal is to gradually increase the heat and duration of each fire. This allows the stove to heat up and cool down slowly, preventing stress on the materials. Rushing this process is where most people make mistakes. Patience here is key to a long-lasting stove.
Many manufacturers suggest a schedule that looks something like this. We’ve adapted it for clarity, but always check your specific model’s manual. The idea is to start small and build up. This isn’t about getting your house toasty; it’s about gently introducing heat to the stove. Think of it as a warm-up routine for your appliance.
Day 1: The First Gentle Fires
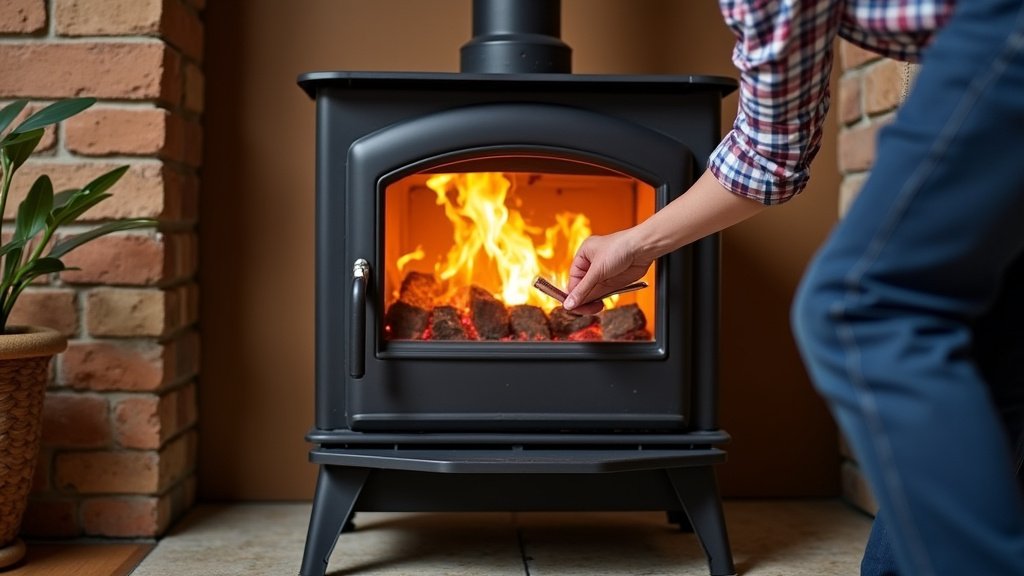
On the first day, you’ll build very small fires. Use only a few pieces of small, dry firewood. You want the fire to burn for about 30 to 60 minutes. Don’t try to get the fire roaring. A low, gentle flame is perfect. During this time, keep an eye on the stove. You might notice some faint smoke or a slight odor as the protective coatings begin to burn off. This is normal.
After the fire burns out and the stove has cooled completely, you can repeat this process one or two more times during the day. The key is short fire durations and low heat. Ensure the stove cools down completely between fires. This gradual heating and cooling cycle is what helps the stove’s materials adjust. We found that this gentleness is the most important aspect of the first day.
Day 2 & 3: Increasing Heat and Duration
For the next couple of days, you’ll gradually increase the size of your fires and how long they burn. On day two, you can use slightly larger pieces of wood and aim for fires that burn for about 1 to 1.5 hours. You can also allow the fire to burn a little hotter than on day one. You should still have some ventilation open.
On day three, you can increase the fire duration again, perhaps to 2 hours. You can also use a more standard amount of firewood, building a moderate fire. The goal is to expose more of the stove’s surfaces to higher temperatures. You might notice the odors and smoke lessening as the residues continue to burn off. Continue to let the stove cool completely between fires. This staged approach helps ensure an even cure.
Day 4 Onwards: Longer, Hotter Fires
By day four, your stove should be mostly cured. You can now build longer fires, potentially up to 3-4 hours, and let them burn hotter. This is when you can really start to test your stove’s capabilities. Continue to monitor for any unusual smells or sounds. If you notice anything concerning, reduce the fire size and consult your manual. Most sources suggest this final stage is about completing the curing process.
You might still get a faint smell on these days, but it should be very minimal. If you’re still getting strong odors or excessive smoke, you may need to extend the curing process by a day or two. It’s better to take a little extra time than to risk damage. We found that some stoves might require a bit more time depending on their construction and coatings. A table can help visualize the progression.
| Day | Fire Duration | Heat Level | Wood Size | Notes |
|---|---|---|---|---|
| Day 1 | 30-60 minutes (x2-3) | Low | Small pieces | Focus on gentle heat, observe initial odors. Cool completely between fires. |
| Day 2 | 1-1.5 hours | Moderate | Small to medium pieces | Gradually increase size and duration. Continue observation. |
| Day 3 | 2 hours | Moderate to high | Standard size pieces | Continue consistent heating and cooling cycles. |
| Day 4+ | 3-4 hours | High | Standard size pieces | Test stove’s capacity. Curing should be complete. Monitor closely. |
Troubleshooting Common Curing Issues
While the curing process is generally straightforward, you might encounter a few minor issues. The most common is odor. As we’ve discussed, some smell is expected initially. If the odor is very strong, acrid, or persistent even on later days, it might mean the residues aren’t burning off completely. Ensure you are using dry wood and that your fire is hot enough for the duration specified.
Another concern could be discoloration of the paint. A slight change in color, especially around the hottest parts of the stove, can sometimes happen. This is often a sign that the paint is curing. However, if you see peeling or flaking, that might indicate the heat was too intense too quickly. Your stove’s manual is the best resource here. Many guides suggest contacting the manufacturer if you experience significant paint issues.
What If I See Excessive Smoke?
Seeing a bit of smoke is normal, especially in the first day or two. However, if you have thick, dark smoke billowing out of the stove, even with the door slightly ajar, something might be wrong. First, check if your chimney damper is fully open. It sounds simple, but sometimes it gets overlooked. Ensure your stove is installed correctly and that the chimney draft is good.
If the smoke persists, the fire might be too small to create adequate draft, or there could be an obstruction. For a new stove, the initial smoke is usually just the coatings burning off. If it’s excessive and smells strongly chemical, reduce the fire size. Ensure you have good ventilation. If you’re unsure, it’s always best to let the fire die down and consult your installation manual or a professional. We found that ensuring proper chimney connection is paramount.
When Is Curing Complete?
How do you know when you’re truly done with curing? The best indicator is the absence of strong odors and excessive smoke. Once you’ve completed a few days of longer, hotter fires with minimal to no chemical smell or dark smoke, your stove is likely cured. The paint should look uniform, and the stove should be heating up and cooling down without any alarming sounds or issues.
You’ve successfully seasoned your new appliance! It’s now ready for regular use. Take a moment to appreciate the fact that you’ve given your stove the best possible start. This simple process protects your investment and ensures you can enjoy warm, cozy fires for many winters to come. Think of it as giving your stove a gentle introduction to its important job.
Your Curing Checklist:
- Build small, short fires on Day 1.
- Gradually increase fire size and duration over 3-4 days.
- Ensure adequate ventilation during curing fires.
- Let the stove cool completely between fires.
- Monitor for odors and excessive smoke.
- Consult your manual for specific manufacturer instructions.
Conclusion
You’ve done it! By following these steps, you’ve properly cured your new wood stove, ensuring it’s ready for a long and efficient life. This gradual heating process prevents damage, minimizes odors, and sets your stove up for optimal performance. You’ve protected your investment and your home. Now you can relax and enjoy the cozy warmth and ambiance that only a well-seasoned wood stove can provide. Get ready for many happy heating seasons ahead!
Frequently Asked Questions
How long does the curing process typically take?
The curing process generally takes about 3 to 4 days of building controlled fires. Some stoves might require an extra day or two if you notice persistent odors or excessive smoke. It’s better to take a little extra time to ensure a thorough cure.
Can I skip the curing process if I’m in a hurry?
We strongly advise against skipping the curing process. It’s a critical step for removing manufacturing residues that can cause strong odors, excess smoke, and even damage your stove’s finish or internal components. A rushed cure can lead to problems down the line.
What kind of wood should I use for curing?
Always use dry, seasoned firewood for curing. Small pieces are best for the initial fires to control heat. As you progress through the days, you can use slightly larger pieces, but avoid wet or green wood, as it will produce more smoke and less heat. Always use dry, seasoned firewood for curing, as wet or green wood produces more smoke and less heat.
Is it normal to smell chemicals during the first few fires?
Yes, a faint chemical smell or some smoke is normal during the first few curing fires. This is the protective coating burning off. If the smell is overwhelming or acrid, ensure you have good ventilation and that your fire is burning cleanly.
What should I do if my stove’s paint is discoloring during curing?
Slight discoloration, especially in hotter areas, can sometimes be a sign of the paint curing. However, if you see peeling or flaking paint, it might mean the heat was too intense too quickly. Consult your stove’s manual for specific advice regarding paint issues.