How to Season Firewood?
On this page (6 sections)
To season firewood, you generally need to cut, split, and stack logs in a sunny, breezy spot for at least six months to a year. This process significantly reduces the wood’s moisture content, making it burn hotter and cleaner. We found that proper seasoning is the most crucial step before burning wood.
Seasoning isn’t just about time; it’s about making your firewood efficient and safe. Unseasoned, or “green,” wood creates a lot of smoke and can lead to creosote buildup in your chimney. You want wood that’s
TL;DR:
- Seasoning your firewood makes it burn better.
- Cut and split wood to aid drying.
- Stack in the open, away from moisture.
- Allow 6-12 months for proper drying.
- Avoid burning “green” wood.
Let’s walk through exactly how to season firewood effectively, ensuring you get the most warmth and enjoyment from your fires.
Prepping Your Wood for the Perfect Burn
Getting your firewood ready for seasoning is just as important as the seasoning process itself. You want to give it the best chance to dry out quickly and evenly.
Gathering Your Wood: When to Cut
The time you cut your wood can impact its drying time. Many experienced wood-burners suggest cutting wood in late winter or early spring. Why then? The trees hold less sap during these dormant months. Less sap means less moisture you need to dry out later.
If you cut wood when it’s full of sap, like in summer, it will simply take longer to dry. This extends your waiting period. Plan your wood-cutting adventures accordingly, keeping an eye on the calendar.
The Power of Splitting: Don’t Skip This Step
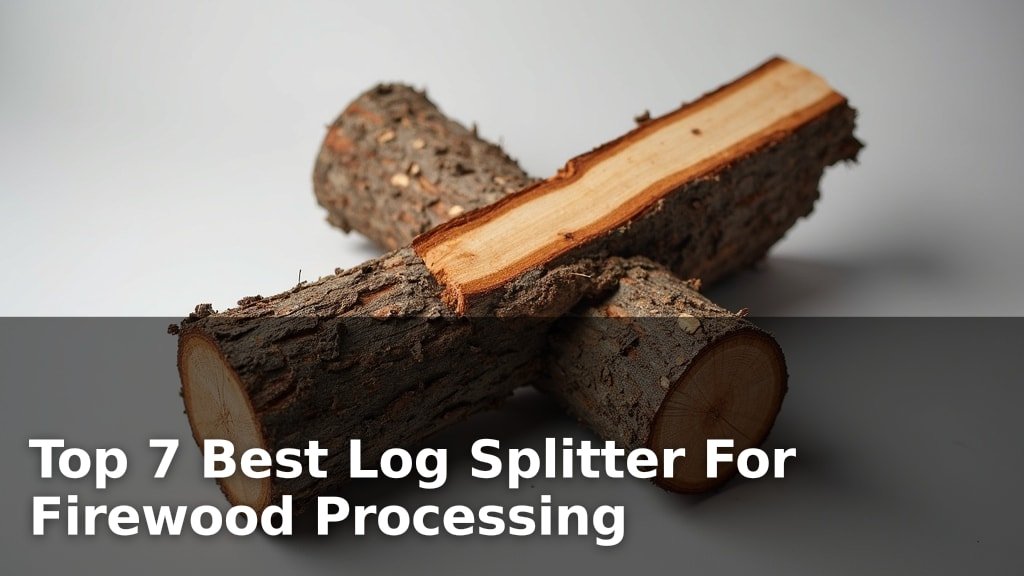
You might be tempted to just cut logs into fire-sized pieces and call it a day. But resist that urge! Splitting the wood is vital for proper seasoning. When you split a log, you break open the outer bark layer. This exposes more of the inner wood to the air and sun.
Unsplit logs dry much slower because they only lose moisture from their ends and any existing cracks. We found that splitting dramatically speeds up the drying process. Aim for pieces that are easy to handle and fit your firebox. Heat-resistant gloves can help protect your hands while handling split firewood. Typically, this means pieces no larger than 6 inches in diameter. Smaller pieces dry much faster than large, thick logs.
Measuring Moisture: Knowing Your Wood’s Readiness
How do you really know if your wood is dry enough? You might hear about the “hollow sound” or “dry to the touch.” While helpful, a more precise method exists. A moisture meter is your best friend here. These inexpensive tools measure the actual moisture content within the wood.
Many experts recommend a moisture content of 15-20% for seasoned firewood (Pennsylvania State University Extension). Anything above this will burn inefficiently and create more creosote. Below 15% is even better, but harder to achieve without kiln drying.
- Purchase a moisture meter: Look for one that probes into the wood.
- Test multiple pieces: Wood can dry unevenly, so check different logs.
- Aim for 15-20%: This range ensures optimal burning.
Choosing the Perfect Spot for Drying
Where you stack your wood makes a huge difference in how quickly and effectively it seasons. Think of it like a good drying rack for your clothes—you need air and sun.
Sunny Side Up: Maximizing Sun Exposure
Sunlight is a natural enemy of moisture. The sun’s warmth helps evaporate water from the wood fibers. So, when choosing a spot, look for an area that gets plenty of direct sunlight throughout the day. East-west facing stacks often get the most sun.
Avoid placing your wood in shaded areas, under dense trees, or on the north side of a building. These spots will slow down drying considerably. We found that a good sunny location can shave weeks off your seasoning time.
Embrace the Breeze: Good Airflow is Key
Beyond sunshine, airflow is your other drying superpower. Air moving around and through your wood stack carries away moisture as it evaporates. Stagnant air means slow drying.
Areas that are naturally breezy, like open spaces or slightly elevated spots, are ideal. If you have a choice, put your wood where the wind can easily reach it. Don’t stack it tightly against a wall or fence on all sides—you need room for air to pass.
Off the Ground: Preventing Moisture Absorption
This point is often overlooked but it’s critically important. Never stack firewood directly on the ground. The ground holds moisture, and your wood will absorb it right back. Think of it as drinking from a straw—the wood will just wick up that ground moisture.
Use pallets, old tires, concrete blocks, or even some thicker, less desirable logs as a base. Elevating your stack by at least 4-6 inches creates a barrier from ground moisture. It also allows air to circulate underneath the pile, contributing to better drying.
Stack It Right: Building Your Firewood Pile
A well-built stack isn’t just neat; it’s designed for optimal seasoning. There’s a bit of an art to it, but it’s easy once you get the hang of it.
The Fundamentals of Stacking
When you stack your split wood, the goal is to create maximum exposure to sun and air while keeping the pile stable. Here’s how we found it works best:
- Ends out: Stack pieces with the cut ends facing outwards. The ends are where most of the moisture escapes. Think of tiny pores allowing water to evaporate.
- Criss-cross or parallel: You can stack in parallel rows or build “cribs” at the ends using criss-crossed pieces for stability. The former is more common for larger stacks.
- Loose but stable: Don’t pack the wood too tightly. Leave small gaps between pieces for air to flow. At the same time, make sure your stack is solid and won’t topple over.
- Keep it under 4 feet tall: Taller stacks are prone to falling and can reduce airflow in the middle.
Covering Your Investment: To Cover or Not to Cover?
This is a common question. You absolutely want to cover the top of your wood stack. This protects it from rain and snow, which would re-wet your perfectly drying wood. A tarp or a firewood cover works well.
However, many experts caution against covering the sides of your stack. Covering the sides restricts airflow, which, as we discussed, is essential for drying. So, cover the top, but leave the sides open and exposed to the breeze.
How Long Does It Really Take? The Seasoning Timeline
Patience is a virtue when it comes to seasoning firewood. There’s no fast forward button, but understanding the timeline helps manage expectations.
General Timelines and Factors Influencing Drying
Generally, firewood needs to season for at least six months to a year. Some denser hardwoods, like oak or hickory, can take even longer—up to 18-24 months in some climates. It really depends on several factors:
- Wood type: Hardwoods take longer than softwoods due to their density.
- Climate: Hot, dry, and windy climates speed up drying. Cool, damp, or humid climates slow it down.
- Split size: Smaller, thinner pieces dry faster than large, thick ones.
- Stacking method: Proper stacking with good airflow makes a big difference.
- Starting moisture content: Freshly cut “green” wood takes longer than wood that has already begun to air dry.
Knowing When It’s Ready: A Checklist
“Is it ready yet?” Here’s a quick checklist to help you tell if your firewood is properly seasoned:
- Appearance: Look for cracked ends, also known as “checking.” The bark might also be loose or peeling.
- Weight: Seasoned wood feels significantly lighter than green wood. Much of the water has evaporated.
- Sound: Knock two pieces together. Seasoned wood will make a hollow, resonant sound. Green wood will sound dull or thud-like.
- Smell: Seasoned wood has a mild, earthy, woody smell. Green wood often smells sappy or fresh, sometimes even slightly sour.
- Moisture Meter: This is the most reliable way. Your meter should read consistently
By following these steps, you’re not just drying wood, you’re investing in hotter fires, less smoke, and a cleaner chimney. Happy burning!
Conclusion
You now have all the tools to turn green wood into perfectly seasoned firewood. By understanding the importance of cutting, splitting, and proper stacking, you’re set for success. Remember, patience is key, but the reward is worth it: hotter, cleaner burns and a cozier home.
Invest in a moisture meter and commit to the process. You’ll not only save money but also enjoy your fires more, knowing you’ve prepared your fuel just right. Get started today and prepare for next heating season!
Frequently Asked Questions
Can I season firewood indoors?
No, generally you should not season firewood indoors. Indoor spaces lack the necessary airflow and sunlight for effective drying. They can also introduce bugs or moisture problems into your home. Always season wood outdoors.
What happens if I burn unseasoned “green” wood?
Burning green wood creates a lot of smoke and burns inefficiently, producing less heat. It also leads to a significant buildup of creosote in your chimney, which is a major fire hazard. It’s truly not worth the risk or the poor performance.
Does soft wood season faster than hard wood?
Yes, softwoods like pine or spruce typically season much faster than hardwoods such as oak or maple. Their less dense cellular structure allows moisture to escape more quickly. You might be able to burn softwood in 6-8 months, while hardwoods need a year or more.
Can I speed up the seasoning process?
You can optimize it by cutting and splitting wood small, stacking it in a sunny, breezy location, and elevating it off the ground. However, there’s no way to dramatically “speed up” natural air drying beyond these best practices. Kiln drying is faster, but that’s a commercial process.
How can I tell if my firewood is moldy or rotten?
Check for visible mold growth, a musty odor, or soft, crumbling sections in the wood. While some surface mold might not ruin the wood entirely, extensive rot means the wood has lost much of its heat value and will burn poorly. Avoid burning heavily rotted wood.