
What Do You Need to Install a Wood Stove?
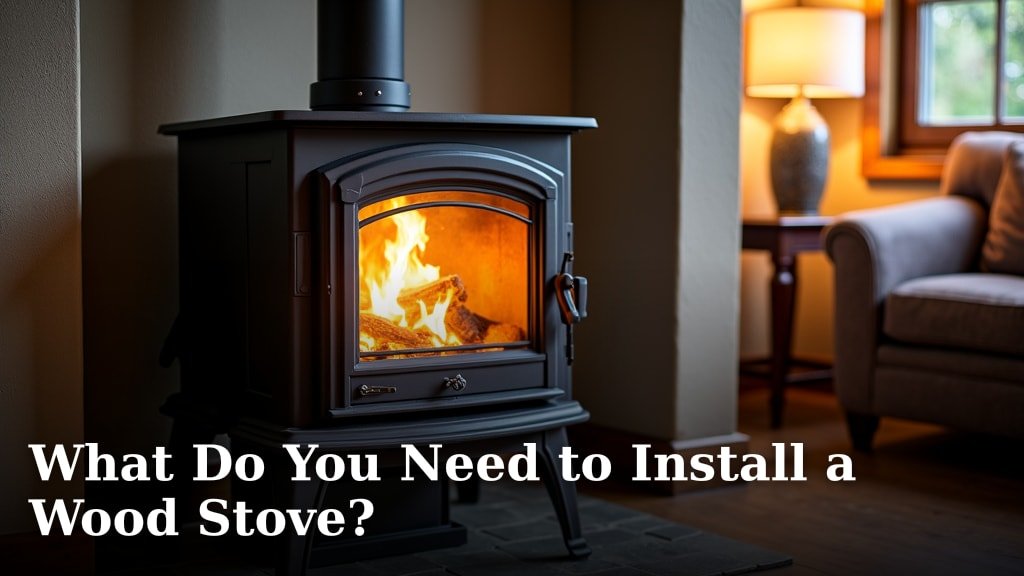
To install a wood stove, you primarily need the wood stove unit itself, a proper chimney or flue system, and several safety components. These include heat shields, hearth pads, and adequate clearances to combustible materials.
You also need the correct tools for installation and a plan for venting smoke safely out of your home. We found that permits and inspections are often required by local authorities. Ignoring these steps could lead to safety hazards and costly fines.
- Wood stove unit
- Chimney or flue system
- Safety components (heat shields, hearth pad)
- Required tools for installation
- Local permits and inspections
Let’s walk through everything you need to successfully and safely install a wood stove in your home.
Essential Components for Your Wood Stove Setup
Setting up a wood stove involves more than just the stove itself. You need a complete system to ensure safety and efficiency. We found that thinking of it like a puzzle, where every piece fits together, helps. Each component plays a vital role in keeping your home warm and safe.
The Wood Stove Unit: Your Home’s New Heart
This is where the magic happens, right? But choosing the right stove is key. Consider its size relative to your space. A stove too small won’t heat enough; one too large might overheat your room and waste wood. Look for EPA-certified models. These burn cleaner and more efficiently, which is better for your wallet and the environment.
Choosing the Right Size and Type
Measure your space first. A general rule of thumb is 1,000 square feet per 30,000 BTUs. But factors like ceiling height and insulation matter. Do you prefer cast iron for its heat retention, or steel for its quick heating? Each has its perks. We found that reading reviews from other homeowners can offer real-world perspectives. Our guide to the best wood stove for small homes can help you find a model that fits your space perfectly.
The Chimney or Flue System: Your Stove’s Lifeline
This system is arguably the most critical part of your installation. It safely vents smoke and harmful gases outside. Without a proper chimney, you’re inviting danger into your home. Think of it as the exhaust pipe for your wood stove.
Types of Chimney Systems
You essentially have two main options: a traditional masonry chimney or a manufactured metal chimney. Masonry chimneys are built from brick or stone. They are durable but often require a stainless steel liner. Manufactured chimneys, also known as Class A chimneys, are prefabricated metal pipes designed for high temperatures. We found these are often easier to install in homes without an existing masonry chimney.
Chimney Components
- Chimney Pipe: This is the main conduit. It needs to be the correct diameter for your stove’s flue collar.
- Elbows and Tees: These allow you to navigate around obstructions and create the necessary turns.
- Wall Thimbles or Roof Flashing: These create a safe passage through walls or roofs, preventing heat transfer to combustibles.
- Chimney Cap: This sits at the very top, keeping out rain, snow, birds, and other critters. It also has a spark arrestor to prevent embers from landing on your roof.
- Support Brackets: These hold the chimney pipes securely in place, especially for taller runs.
Safety First: Protecting Your Home from Heat
Wood stoves generate a lot of heat, not just from the firebox but from the stove’s exterior. Protecting nearby combustible materials is non-negotiable. This is where hearth pads and heat shields come in.
Hearth Pads and Floor Protection
A hearth pad, also called a floor protector, is vital. It shields your floor from radiant heat and stray embers. It must extend a certain distance in front and to the sides of the stove. Local building codes and the stove manufacturer’s manual will specify these dimensions. We found that materials like tile, brick, or stone are commonly used for their non-combustible properties.
Heat Shields and Clearances
What about your walls? Heat shields are panels designed to reduce the required clearance between your stove and combustible walls. Without them, you might need 36 inches or more of space. With a proper shield, this distance can be significantly reduced. Always check your stove’s manual and local codes for exact requirements. Many experts say that insufficient clearance is a leading cause of house fires related to wood stoves (National Fire Protection Association).
Tools and Materials for Installation Day
Having the right tools makes the job smoother and safer. You don’t want to be halfway through and realize you’re missing something essential. Think ahead, gather your gear, and you’ll be set.
Basic Hand Tools
You’ll likely need a good tape measure, a level, screwdrivers, a drill, tin snips (for metal chimney components), a caulk gun, and a utility knife. A sturdy ladder is also a must for working on the roof or higher sections of the chimney.
Sealants and Fasteners
High-temperature silicone sealant is crucial for sealing joints in your chimney system, preventing smoke leaks. You’ll also need appropriate screws or fasteners to secure pipes and supports. Make sure they are rated for high temperatures where necessary.
Navigating Permits and Inspections
This step is often overlooked, but it’s incredibly important. Skipping permits can lead to fines, insurance issues, and even having to remove your stove later. Your local building department is your best friend here.
Why Permits Matter
Permits ensure your installation meets local safety standards. An inspector will verify clearances, chimney integrity, and overall safety. This protects you, your family, and your home. We found that most homeowners’ insurance policies require a permitted installation to cover any fire-related incidents.
The Inspection Process
Typically, you’ll apply for a permit, then install the stove according to code. Once installed, an inspector will come to your home to check everything. They’ll look at the stove’s placement, chimney connections, clearances, and the hearth pad. Don’t be shy about asking them questions; they’re there to help ensure your safety.
A Quick Checklist for Your Wood Stove Project
To keep things organized, here’s a handy list of what to confirm before you even light that first log:
- Wood stove unit is EPA-certified and sized correctly for your space.
- Chimney system components are all present and compatible with your stove.
- Hearth pad meets required dimensions and is made of non-combustible material.
- All heat shields are properly installed, ensuring correct clearances to combustibles.
- You have all the necessary tools and high-temperature sealants.
- Local permits are pulled, and you’ve scheduled your final inspection.
Understanding Professional Installation vs. DIY
While installing a wood stove might seem like a straightforward DIY project, it has serious safety implications if done incorrectly. We often weigh the pros and cons of tackling such a project yourself.
| Aspect | DIY Installation | Professional Installation |
|---|---|---|
| Cost | Lower upfront costs (parts only) | Higher upfront costs (parts + labor) |
| Expertise | Requires significant research and precision | Expert knowledge of codes and best practices |
| Time | Can be time-consuming; learning curve | Faster, efficient installation |
| Safety | Higher risk if mistakes are made | Lower risk; often comes with guarantees |
| Permits/Inspections | You handle all aspects | Professionals often assist with paperwork |
If you’re unsure about any part of the installation process, or if local codes seem complex, hiring a certified professional is a wise investment. They have the experience to ensure everything is up to code and safe. We found that peace of mind is worth a lot, especially when dealing with fire in your home.
Conclusion
Installing a wood stove is a rewarding project that brings warmth and efficiency to your home, but it requires careful planning and attention to detail. You’ve learned about the essential components, from the stove unit itself to the critical chimney system and safety features. Remember, prioritizing safety through proper clearances and a compliant setup is non-negotiable. Whether you choose to DIY or hire a professional, understanding these requirements ensures your wood stove operates safely and efficiently for years to come. Your next step should be to consult your local building department to understand specific permit and inspection requirements.
Frequently Asked Questions
How often should I clean my wood stove chimney?
You should have your wood stove chimney inspected at least once a year, and cleaned as needed. If you burn your stove frequently or use unseasoned wood, you might need more frequent cleanings. This prevents creosote buildup, which can cause dangerous chimney fires.
Can I install a wood stove in a mobile home?
Installing a wood stove in a mobile home is possible, but it comes with stricter regulations due to the home’s construction and fire safety requirements. You’ll need a specific type of stove rated for mobile homes and will likely face very particular installation guidelines. Always check local codes and manufacturer instructions carefully.
What kind of wood is best to burn in my stove?
For optimal performance and safety, you should burn only dry, seasoned hardwood like oak, maple, or ash. Seasoned wood has been dried for 6-12 months, has a low moisture content, and burns cleaner and more efficiently. Avoid burning green wood, treated wood, or trash, as these can create creosote and harmful emissions.
Do wood stoves require electricity to operate?
Most basic wood stoves do not require electricity to operate; they function entirely on natural draft. However, some modern wood stoves include optional features like blowers or catalytic converters that may require a small amount of electricity. Always check your specific model’s requirements.
What are the signs that my chimney needs maintenance or repair?
Look for signs like poor draft, smoke coming back into the room, visible creosote buildup, or crumbling mortar. On the exterior, check for cracks in the masonry, missing bricks, or a damaged chimney cap. Addressing these issues promptly helps maintain safety and efficiency.