How to Clean Fireplace Ash?
On this page (8 sections)
The easiest way to clean fireplace ash is to wait until it’s completely cool, then use a shovel and dustpan or a shop vacuum designed for ash. If you plan to reuse cooled ash in your garden, check whether it can work as fireplace ash fertilizer. This will help you safely remove the soot and debris. Always make sure your fireplace has been unused for at least 24 hours before you start cleaning, and wear protective gear like gloves and a mask to avoid inhaling fine particles. Properly cleaning your fireplace ash ensures a cleaner, safer home environment.
Dealing with fireplace ash might seem a bit messy, but it’s a necessary part of enjoying a cozy fire. Leaving too much ash can actually block airflow, making your fires less efficient. Knowing the right tools and methods can make this chore surprisingly quick. We found that a good shop vac makes a huge difference compared to regular brooms and dustpans, especially for fine ash.
- Always wait for ash to be completely cool.
- Use a shovel and dustpan or an ash-specific shop vacuum.
- Wear gloves and a mask for protection.
- Regular cleaning prevents airflow blockage.
Ready to tackle that fireplace? Let’s walk through exactly how to get it clean, step by step.
Your Guide to a Clean Fireplace: Ash Removal Made Easy
Cleaning out fireplace ash is a routine chore. It keeps your fireplace working its best. It also helps keep your home safe and clean. We’ve put together some tips to make this job simple and safe for you.
Why Regular Ash Cleaning Matters
You might be wondering why you need to clean out ash regularly. It’s more than just tidiness. Too much ash can actually block airflow. This makes your fires burn less efficiently. Think of it like a clogged filter in your HVAC system. It just can’t work as well when it’s full of gunk. A thick layer of ash can also trap moisture. This can lead to deterioration of your fireplace over time. Many fireplace professionals recommend clearing out most of the ash after every few fires, or when the ash level reaches about an inch.
The Safety First Approach to Ash Removal
Safety is always the top priority. Ash can hold embers for a long time. You might think a fire is out, but a hidden ember could still be glowing. This is why waiting is so important. You need to ensure the ash is completely cool before you touch it. Experts often advise waiting at least 24 to 48 hours after the last fire has died down. This waiting period allows any lingering heat to dissipate safely. Always make sure the damper is open while the fire is burning, but close it once the fire is completely out and cooled to prevent drafts from stirring up ash prematurely.
Essential Tools for the Job
Having the right tools makes all the difference. You don’t need a lot of fancy equipment. Here’s what we found works best:
- Metal Shovel and Dustpan: A small, sturdy metal shovel is perfect for scooping out larger amounts of ash. Pair it with a metal dustpan. Make sure both are made of metal, as plastic can melt if there are any hidden hot spots.
- Ash Bucket or Metal Container: You’ll need a place to put the ash. A metal ash bucket with a lid is ideal. It keeps ash contained and prevents dust from spreading. Never use a plastic bucket, as it could melt or catch fire.
- Shop Vacuum (Ash Vacuum): For a really thorough clean, especially with fine ash, a shop vacuum is a game-changer. However, it’s crucial to use a vacuum specifically designed for ash. Regular household vacuums can spread fine ash particles into the air, making a mess. They can also be damaged by the heat or sharp debris. Look for vacuums with HEPA filters.
- Protective Gear: Don’t forget to protect yourself! Wear a pair of sturdy gloves to keep your hands clean and safe. A dust mask or respirator is also highly recommended, especially when vacuuming. Ash particles are very fine and can irritate your lungs if inhaled.
Step-by-Step: Cleaning Your Fireplace Ash
Ready to get your hands dirty (but not too dirty)? Follow these steps for a clean fireplace.
Step 1: Ensure Ash is Cool and Safe
This is the most critical step. Wait it out. Seriously, give it a full day or two after your last fire. Check for any visible embers or glowing material. If you’re unsure, err on the side of caution and wait longer. A quick check with your shovel can sometimes reveal if things are still warm. If it feels even slightly warm, close the fireplace doors and wait another 12 hours. You can also lightly sprinkle water on the ash to ensure no hidden embers are lurking, but be careful not to soak the entire fireplace.
Step 2: Prepare Your Workspace
Lay down old newspapers or a drop cloth in front of the fireplace. This will catch any stray ash or dust that might fall during the cleaning process. It makes cleanup much easier later. Make sure your protective gear is on: gloves and a dust mask.
Step 3: Remove the Bulk of the Ash
Using your metal shovel and dustpan, carefully scoop the cooled ash into your metal ash bucket. If your fireplace has an ash pit, see how to install an ash pit door for access. Try to avoid vigorous scooping that can stir up dust. Work methodically. Fill the bucket, then place the lid on it securely. You can repeat this process until you’ve removed most of the ash. Leave a thin layer, about half an inch, on the bottom. This layer can actually help insulate the fireplace hearth and protect it from heat.
When to Use an Ash Vacuum
If you have a lot of fine, powdery ash, or if you want an even cleaner finish, now is the time to vacuum fireplace ash. Connect the hose and start vacuuming the remaining ash. For a step-by-step walkthrough, see how to use a fireplace ash vacuum. Be gentle, and avoid sucking up any large, sharp debris that could damage the vacuum. A vacuum specifically designed for ash will trap the fine particles. This prevents them from becoming airborne in your home. It’s a much cleaner and more efficient method for final cleanup.
Step 4: Clean the Fireplace Interior
Once the bulk of the ash is removed, you might want to clean the firebox walls. A stiff brush can help dislodge any soot or creosote buildup. For tougher spots, a damp cloth (not wet!) can sometimes work. Many cleaning product manufacturers also offer specific fireplace cleaners. However, for routine cleaning, a brush and a damp cloth are usually sufficient. Ensure the fireplace is completely dry before closing it up. Many cleaning product manufacturers also offer specific fireplace cleaners for soot or creosote buildup; our guide on how to clean a chimney offers more detailed advice.
Step 5: Dispose of the Ash Properly
This is another important safety step. Never dispose of ash in a plastic trash bag or can. Hot embers can remain hidden for days. Place the lidded metal ash bucket in a safe outdoor location. Choose a spot away from your house, deck, garage, or any combustible materials. Leave the bucket there for at least a week to ensure all ash is completely cold. After a week, you can safely dispose of the ash. Many people mix it with soil in their garden or add it to compost bins, as it can be a source of minerals. However, check local guidelines for ash disposal, as some areas have specific regulations. Place the lidded metal ash bucket in a safe outdoor location, away from combustible materials, and for more on maintenance, learn how often a chimney should be swept.
Troubleshooting Common Ash Cleaning Issues
Stubborn Soot Stains
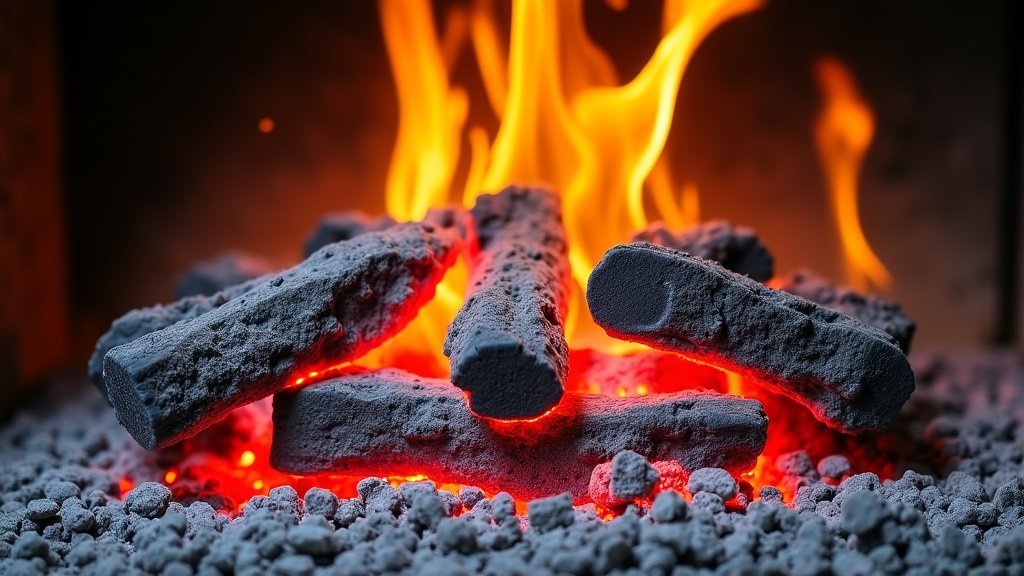
Sometimes, soot can leave stubborn marks on the fireplace surround or hearth. For brick or stone, a stiff brush and a paste of baking soda and water can work wonders. Let the paste sit for a bit, then scrub and wipe clean. For glass doors, specialized glass cleaners are available. Many experts advise against using harsh chemicals on fireplace surfaces to avoid damage. Always test any cleaner in an inconspicuous area first.
Dealing with Lots of Fine Ash
If your fires produce a lot of fine, powdery ash, an ash vacuum is almost essential. Trying to sweep this kind of ash with a regular broom often just kicks it up into the air. A good quality ash vacuum with a fine dust filter will capture these particles effectively. Make sure to empty the vacuum’s container outside and clean the filter as per the manufacturer’s instructions.
When to Call a Professional
While routine ash cleaning is a DIY job, there are times when it’s best to call in the experts. If you notice:
- Excessive creosote buildup (a black, tar-like substance)
- Cracks or damage in the firebox or chimney
- A persistent smoky smell even after cleaning
- Difficulty getting your fire to draw properly
These could be signs of a more serious issue. A professional chimney sweep can perform a thorough inspection and cleaning. They can identify potential hazards and ensure your fireplace is safe for use. Many organizations, like the Chimney Safety Institute of America (CSIA), recommend annual professional inspections.
A Quick Checklist for Your Next Ash Cleanup
Here’s a handy list to keep by your fireplace:
- Wait 24-48 hours for ash to cool.
- Wear gloves and a mask.
- Use a metal shovel and dustpan.
- Scoop ash into a metal container with a lid.
- Dispose of ash outdoors after at least a week.
- Consider an ash vacuum for fine particles.
Conclusion
You’ve now got the knowledge to tackle fireplace ash like a pro. Remember, the key is safety first: always let ash cool completely for at least 24-48 hours. Using the right tools, like a metal shovel and an ash-specific vacuum, makes the job efficient and less messy. Proper disposal is vital to prevent fires outdoors. Keeping your fireplace clean not only looks great but ensures it functions safely and efficiently. So, go ahead and enjoy those cozy fires, knowing you’re prepared for a clean and safe cleanup afterward!
Frequently Asked Questions
How often should I clean out fireplace ash?
It’s generally recommended to clean out most of the ash after every few fires, or when the ash level reaches about an inch. This prevents airflow blockage and keeps your fireplace burning efficiently. Regular cleaning also helps protect your fireplace from moisture damage over time.
Can I use a regular household vacuum to clean ash?
No, you should never use a regular household vacuum for fireplace ash. They can spread fine ash particles into the air, creating a mess, and the heat or sharp debris can damage the vacuum. Always use a shop vacuum specifically designed for ash, ideally with a HEPA filter.
What’s the safest way to dispose of fireplace ash?
The safest way to dispose of ash is in a lidded metal container, kept outdoors away from any structures or combustible materials for at least a week. This ensures any hidden embers have time to cool completely. After a week, you can safely add it to your garden soil or compost, or follow local disposal guidelines.
Is it okay to leave a small layer of ash in the fireplace?
Yes, leaving a thin layer of ash, about half an inch, on the bottom of the firebox can actually be beneficial. This layer acts as insulation, protecting the hearth from extreme heat. It also helps to insulate the floor of the firebox itself.
What should I do if I find a stubborn soot stain on my fireplace bricks?
For stubborn soot stains on brick or stone, try a paste made from baking soda and water. Apply the paste to the stain, let it sit for a while, then scrub with a stiff brush and wipe clean. Always test any cleaning solution in an inconspicuous area first to avoid damaging the material.